|
Repointing can be a great way to maintain masonry and greatly increase it's life expectancy.
The right way to do this is to first remove as much of the old mortar as possible. Going 3/4 of an inch deep is usually all that is feasible. Many contractors do not go nearly this deep. But since it produces such a strong and far superior result, it is the method we employ.
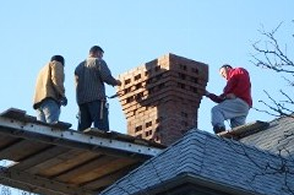
Don't let this happen to your home or business...The old mortar in this chimney was never even cut out to allow room for the new. The workers simply skimmed over the cracks with new material. It is cracking and falling apart only a couple of short years later.
~~~~~~~~~~~~~~~~~~~~~~~~~~~~~~~~~~~~~~~~~~~~~~
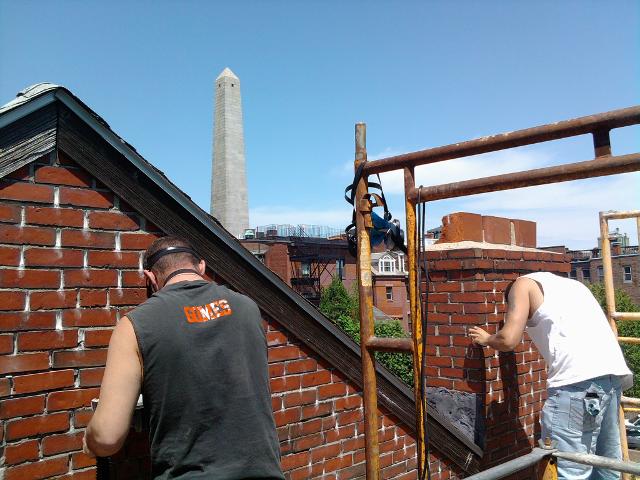
Repointing is definitely not always the answer to a problem with your masonry structure...
 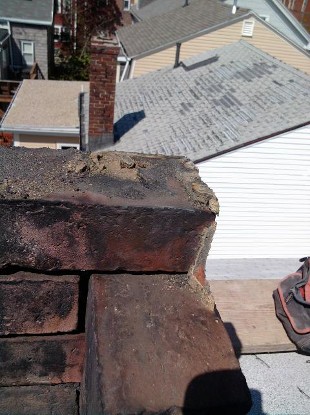
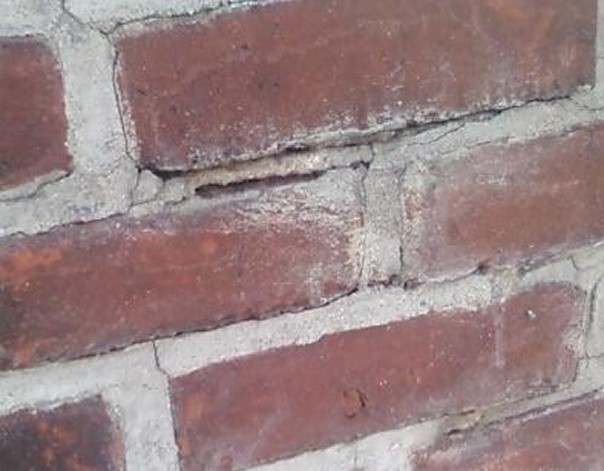
A perfect example of why repointing a chimney is quite often a bad idea. Notice the tiny amount of hard 'newer' mortar near the face of the brick. The rest blew away when we pulled the chimney apart with ease using just our hands. While this is an extreme (but very common!) case, the principle applies to all chimneys - Once they start moving and cracking, they are many times beyond saving.
~~~~~~~~~~~~~~~~~~~~~~~~~~~~~~~~~~~~~~~~~~~
Even when repointing is done properly, it is not appropriate for every situation. It will NOT stop a wall from falling down. Perhaps it will delay it a while. Mortar is not superglue. It is not meant to be used that way at all. Repointing is meant to cure and prevent wear and tear on the face of mortar joints, not to structurally reinforce. So if your chimney or wall is falling over, simply repointing it will do little or nothing to help.
~~~~~~~~~~~~~~~~~~~~~~~~~~~~~~~~~~~~~~~~~~~
When necessary (almost always), we use a 'dustless' system to reduce breathing hazards and annoyances to the neighborhood. A filtered vacuum is attached directly to each saw in use, collecting a very high percentage of the debris generated.
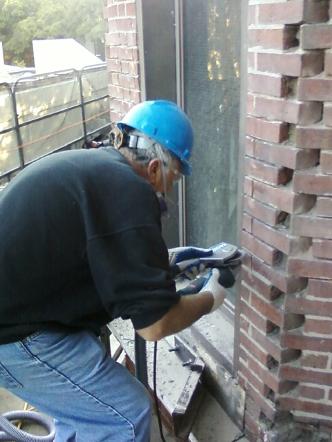 
Notice the absence of any large dust clouds that can accompany a job like this.
~~~~~~~~~~~~~~~~~~~~~~~~~~~~~~~~~~~~~~~~~~~~~~
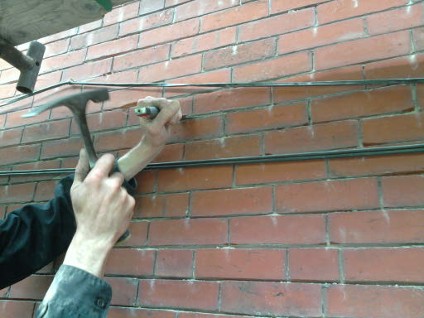
After the grinding phase is complete, the area is examined to find spots the grinders could not reach. These spots are then chipped out by hand with a hammer and chisel. Tedious, but very necessary to insure proper depth for the new mortar.
Then the wall is finally washed down very thoroughly. This important step will remove any dust. Dust would severely reduce the new mortar's ability to adhere well to the brick. The mortar is usually mixed to a drier consistency. This helps reduce the amount of smearing that could take place. This in turn will lower the need for acid in the final cleanup of the brickwork.... Less acid = more strength retained by the new mortar.
If the brick is smooth enough, a sponge may be used to do the initial washing of the wall. This, along with other methods, can also be used to help match the look of any old mortar that is allowed to remain in the structure.
~~~~~~~~~~~~~~~~~~~~~~~~~~~~~~~~~~~~~~~~~~~~~~
It is important for us to match our new product to any original mortar that remains in your building or home. We want it to look as though we were never there. The newly pointed work should never stick out like a sore thumb.
 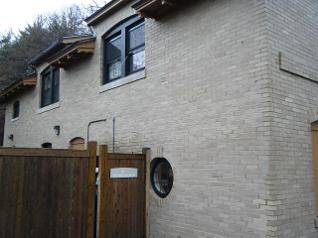
We repointed about 30% of the face of the Crafts Building at Plimoth Plantation. It is virtually undetectable where the old mortar ends and where our new work begins - just as it should be. I am one of the men who performed the work and even I can't tell where the old ends and the new begins!
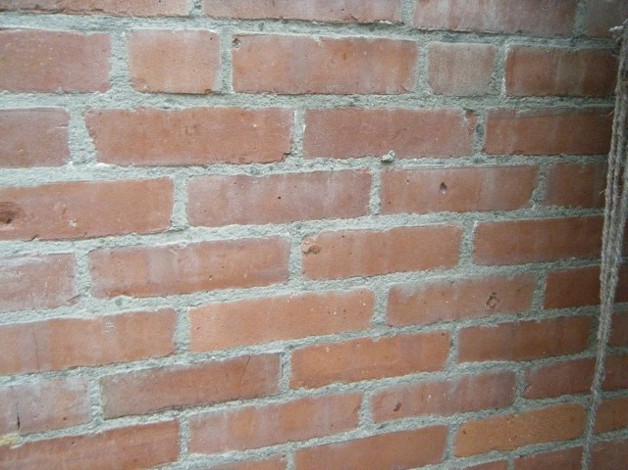
A very special technique was used here at Plimoth Plantation to give brand new mortar the look of something 100 years old or more. Worked like a charm.
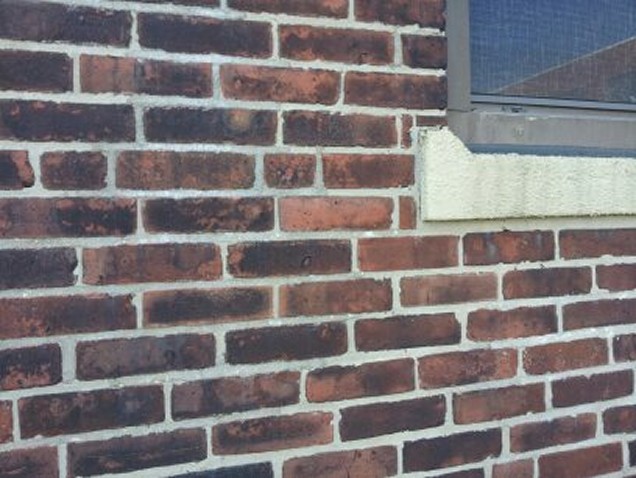
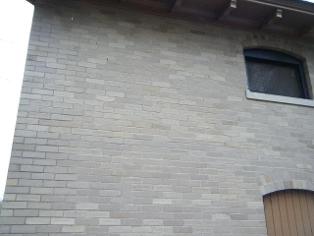
A section of a large building we repointed in Boston. Only half of the area shown was repaired. Even up very close it is almost impossible to see what was touched and what was left alone..... as it should be.
|